Vintage Cabinet Handles: How to Choose the Right Pair
Share
Updated on: 2026-04-30
Vintage cabinet handles can transform the feel of a room without changing the furniture itself. They add visual warmth, support cohesive design, and improve everyday usability. With the right style, finish, and size, you can create a tailored look that reads intentional. This guide explains common myths, shares practical selection steps, and helps you install with confidence.
Table of Contents
3. How to Choose Vintage Cabinet Handles
4. Materials and Finishes That Age Well
5. Fit, Spacing, and Installation Basics
6. Care and Maintenance for Lasting Beauty
Myths vs. Facts
- Myth: Vintage cabinet handles always look outdated. Fact: Modern kitchens and bathrooms can benefit from vintage-inspired lines when the finish and scale match the space.
- Myth: “More ornate” means “less durable.” Fact: Durability depends on construction, not decoration. Quality hardware can be both decorative and reliable.
- Myth: Any handle will fit if it looks similar. Fact: Mounting hole spacing, projection, and screw length are essential for a correct fit.
- Myth: Patina means damage. Fact: Patina can be a design feature. Proper care prevents unwanted corrosion and keeps the look consistent.
- Myth: Installation requires professional tools. Fact: Many projects succeed with basic measurements, a screwdriver or drill, and careful alignment.
Personal Experience
I have seen how quickly cabinetry “comes alive” after hardware changes. On one project, the furniture had good bones, but the handles looked too plain and modern. The homeowner wanted a warmer, more lived-in vibe without a full renovation. After selecting vintage cabinet handles that matched the existing metal accents, the room felt cohesive in a single afternoon. The most noticeable change was not only style; drawers opened more smoothly, and the everyday experience felt intentional. That is the real value of thoughtful hardware upgrades.
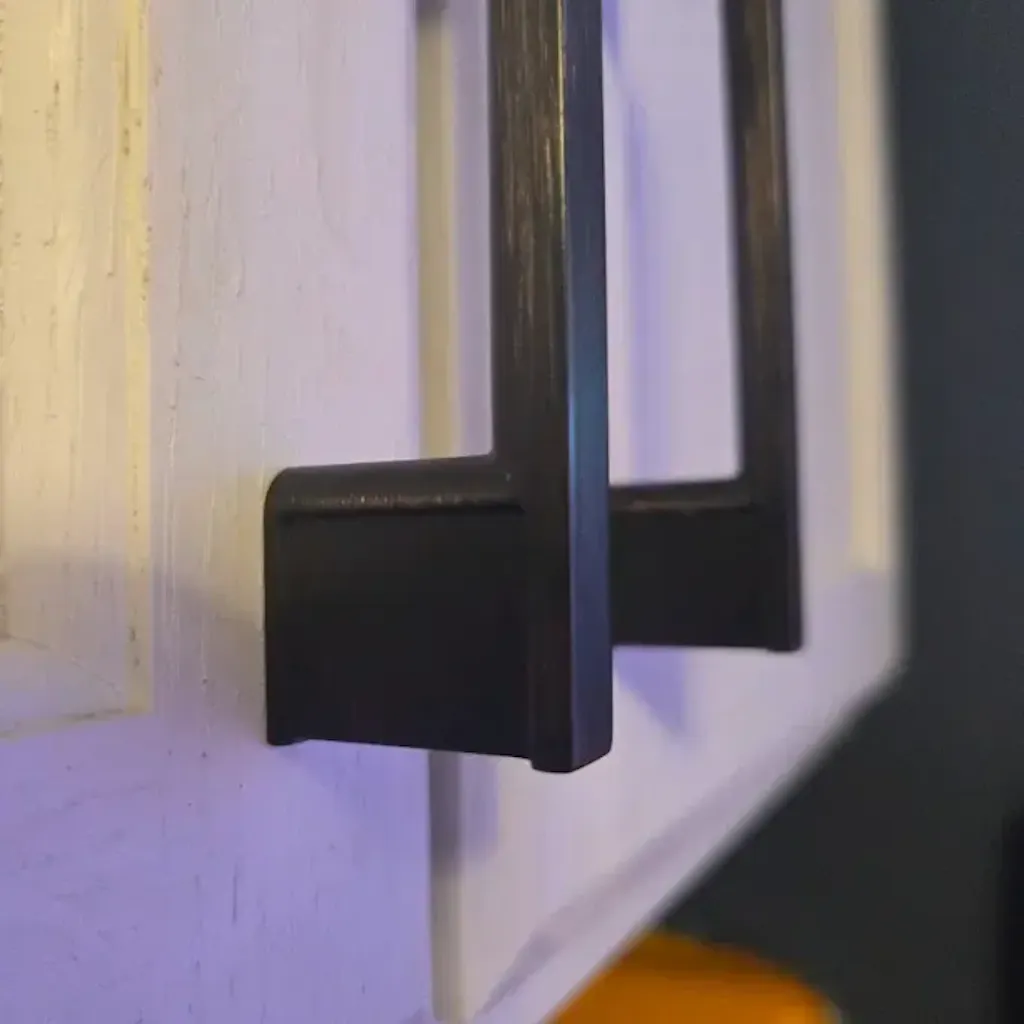
Cabinet hardware alignment and style harmony visuals
How to Choose Vintage Cabinet Handles
Vintage cabinet handles work best when they support your overall design story. Start with the size of the cabinet and the visual weight you want. A large pull on a small drawer can overpower the space. A small pull on a tall door can look disconnected. The goal is balance: the hardware should feel proportionate to the cabinetry.
Next, identify the design era you want to reference. You can aim for classic European lines, understated farmhouse details, or a more decorative art-inspired look. The easiest way to stay consistent is to choose a single visual theme for the entire room. If you mix styles, repeat one or two design cues, such as ring shapes, chamfered edges, or a consistent finish family.
Match the handle to the cabinet style
Consider the cabinetry profile and hardware context. Flat-front cabinets often pair well with simpler vintage-inspired pulls. Raised-panel doors can handle more character and dimensional detailing. If the cabinetry already has strong lines, choose handles that complement rather than compete.
Plan for drawer and door differences
Many kitchens and vanities include both drawers and cabinet doors. Using pulls for drawers and knobs for doors can create clarity, especially when the pieces share a related style and finish. If you prefer uniformity, using one handle type throughout can also work, as long as proportions remain correct.
Use proven product families
When you want consistency and fewer guesswork steps, begin with a hardware set designed for cohesive spacing and sizing. For example, the 5-inch vintage decor cabinet handles offer a straightforward center-to-center dimension that is common for drawer fronts. If you want a knob-and-pull pairing that still reads vintage, consider decorative vintage knobs to complement longer pulls.
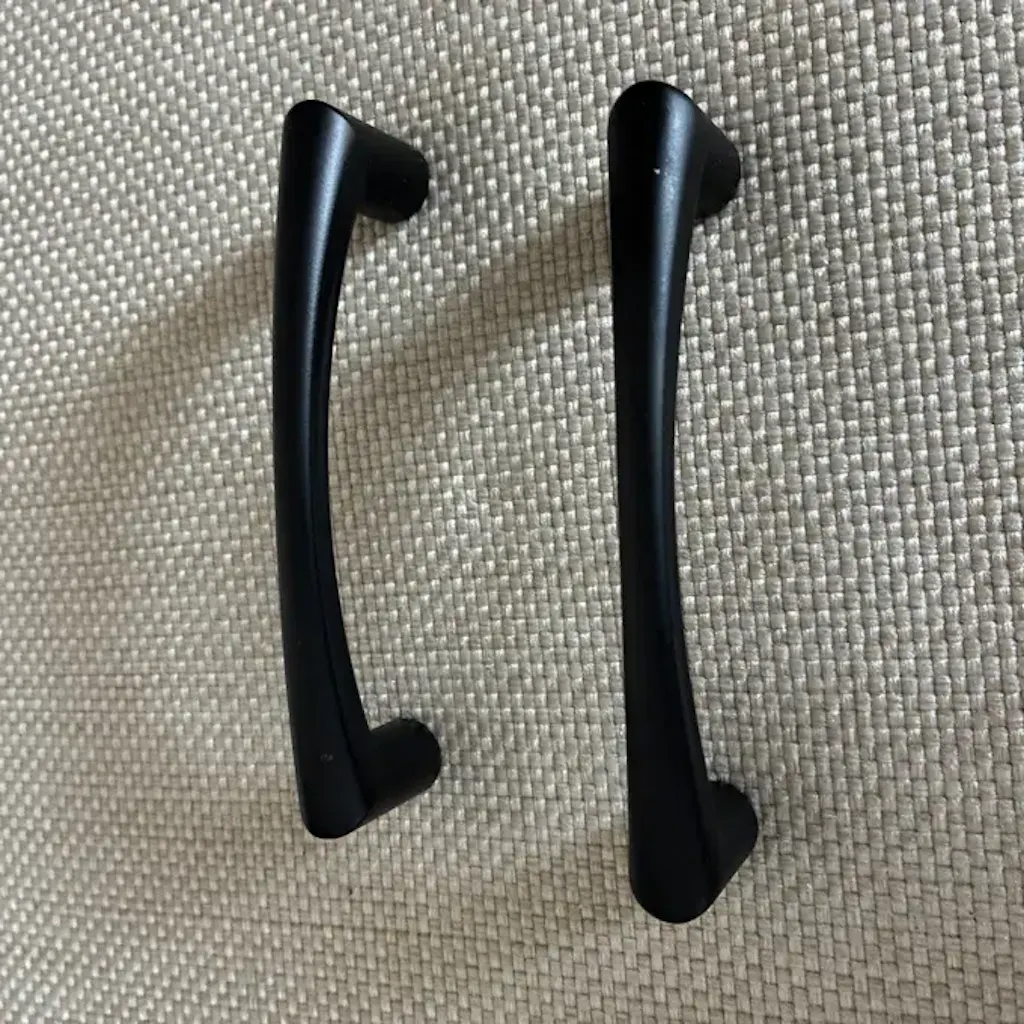
Materials and Finishes That Age Well
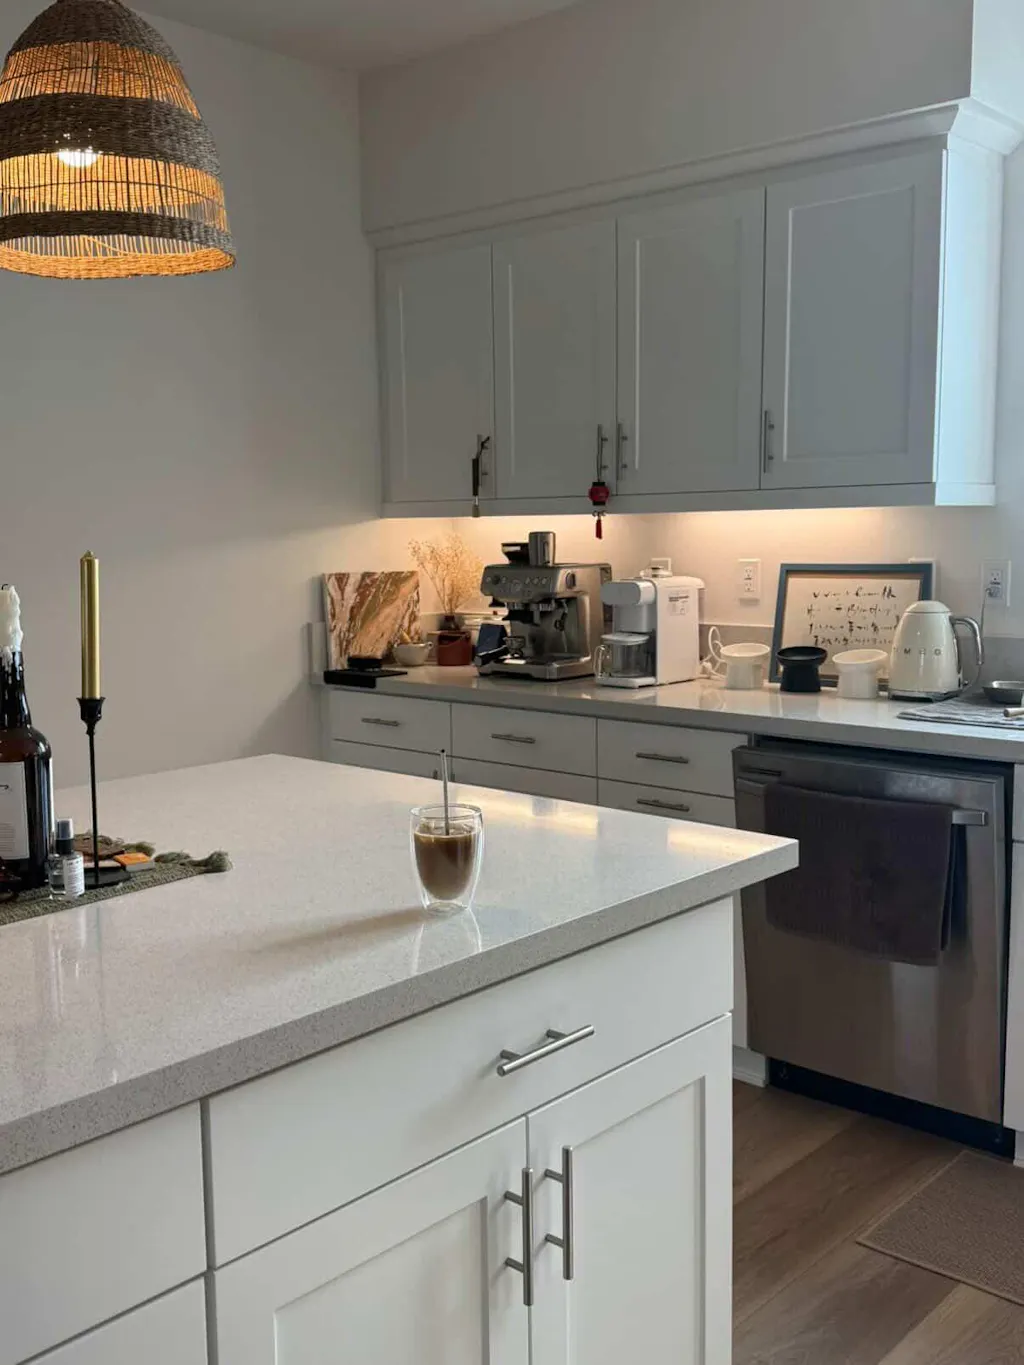
Vintage cabinet handles are often valued for their visual character, but finish quality determines how the hardware will look months later. Consider where the hardware will be used. Kitchens face frequent contact and cleaning. Bathrooms face moisture and temperature swings. Entry storage may experience direct weather exposure. Choosing finishes that resist daily wear helps your design stay attractive.
Common finish families and what they suggest
- Oil-rubbed and darkened finishes: These can mask everyday smudges and help hide minor wear. They also create contrast against light cabinetry.
- Antique brass or aged gold tones: These add warmth and pair well with creamy whites, natural wood, and stone surfaces.
- Matte black: This finish supports a clean vintage look when the cabinet style is classic. It also coordinates well with modern fixtures if you are blending eras.
- Distressed or lightly weathered textures: These can deliver a curated antique mood. They still benefit from regular cleaning to prevent buildup.
Coordinate with other metals
For a cohesive room, match the finish family across faucets, light fixtures, and any visible appliance hardware. Even when you do not match exactly, staying within the same warmth level improves visual unity. Warm metals generally look best together. Cooler tones generally look best together.
Choose durability over trend
Trends change. Quality design does not. Aim for hardware that feels good in your hand and works smoothly over time. If you want a balance between vintage mood and everyday practicality, start with pieces designed for daily use rather than purely decorative accents.
Finish coordination with warm and dark metal tones
Fit, Spacing, and Installation Basics
Even the most attractive vintage cabinet handles can disappoint if the fit is wrong. Proper spacing and alignment protect both aesthetics and longevity. Before purchase, measure the existing hardware if you are replacing it. If you are installing new cabinetry, follow the cabinet manufacturer’s specifications and confirm hole spacing.
Understand the two key measurements
Most pull hardware uses a center-to-center measurement. This is the distance between the mounting holes. Another factor is projection, which is how far the pull extends from the cabinet face. Too much projection can catch clothing. Too little projection can feel awkward to use.
Plan screw length and thickness
Screw length matters. Too short can feel loose. Too long can interfere with internal hardware or door structure. If you are unsure, measure the cabinet door thickness and compare it with the product specifications.
Work methodically for clean alignment
- Use painter’s tape to mark the location and prevent slipping while you measure.
- Use a ruler or measuring tape to confirm center-to-center spacing.
- Hold the hardware in place and test the fit before fastening.
- Check that drawers open without obstruction and that doors close flush.
Replace or mix with confidence
If you are refreshing a mixed set, ensure that the hardware pieces share the same center-to-center spacing. If you also want to keep a vintage mood while improving modern usability, you can select pulls and knobs with compatible dimensions. For example, pairing a consistent drawer pull size with complementary knobs can streamline the look.
To explore style options with clear dimensions, you may review 5-inch center-to-center bar pulls for a cleaner line, or choose a more decorative form such as embossed luxury cabinet handles when you want a tactile focal point. Even though these examples are not all strictly “antique,” they demonstrate how design language can support a vintage-inspired outcome.
Care and Maintenance for Lasting Beauty
Vintage cabinet handles do not require complex care, but consistent cleaning preserves both appearance and finish integrity. Start with gentle methods. For routine dust and light soil, use a soft cloth. For kitchen grime, use a mild soap solution on a damp cloth, then dry immediately. Avoid abrasive scrubbers that can dull textured surfaces.
Protect the finish from harsh cleaners
Many finishes can be affected by strong chemicals. When cleaning, choose products that are safe for metal finishes. If you use a new cleaner, test it on an inconspicuous area first. This approach reduces the risk of discoloration or finish stripping.
Prevent buildup in textured details
Decorative handles often have grooves, edges, or embossed patterns. Small crevices can collect residue over time. Use a soft toothbrush or a small non-abrasive brush to remove buildup, then wipe clean. This keeps the handle looking crisp and prevents long-term grime staining.
Maintain smooth operation
Over time, screws can loosen due to normal use. Periodically check fastening points and tighten as needed. Do not overtighten, because this can strip threads or warp mounting surfaces. With simple maintenance, vintage-style hardware can remain reliable for years.
Final Thoughts & Takeaways
Choosing vintage cabinet handles is a practical design decision, not only a decorative one. The best results come from matching size and mounting requirements, selecting a finish that fits your environment, and keeping the style consistent across the room. When you approach installation carefully and maintain the hardware with gentle cleaning, you protect both the look and the function. Use this guide as a checklist, and your cabinet upgrades will look considered from day one.
Call to Action
If you are ready to refresh your cabinetry, review vintage and vintage-inspired options and confirm fit using center-to-center spacing. Start with one room, measure accurately, and choose hardware that aligns with your finish and style goals. For curated choices that support cohesive updates, explore the available hardware at Island Universe Hardware.
Q&A
How do I measure vintage cabinet handles for replacement?
Measure the center-to-center distance between mounting holes, then confirm the door or drawer thickness for screw length compatibility. If you are replacing existing hardware, measure the exact hole spacing and note whether the current mounts use screws or specific mounting hardware. When the original holes do not align with the new pieces, consider using hardware designed for your cabinet layout or use a professional mounting solution.
What is the best finish for high-use areas like kitchens?
Choose finishes that tolerate frequent cleaning and handling. Darker tones and durable coatings often hide small daily marks. Regardless of finish, use mild cleaning methods and avoid harsh abrasives or strong chemical cleaners. Immediate drying after cleaning also helps maintain a consistent appearance over time.
Can I mix knobs and vintage cabinet handles in the same kitchen?
Yes. Mixing knobs and pulls can improve visual structure and usability. To keep the room cohesive, select pieces that share a finish family and a similar design language. Also, ensure drawer pulls and door knobs do not create confusing scale differences, especially in smaller cabinets or narrow drawer faces.
About the Author
Island Universe Hardware Inc.
Island Universe Hardware Inc. supports homeowners, designers, and builders with practical guidance on cabinet hardware selection, finishes, and installation planning. The team focuses on hardware fit, style cohesion, and long-term durability for everyday use. If you want vintage-inspired results with reliable performance, this expertise is designed to help you make confident decisions. Thank you for reading, and we hope your next hardware upgrade looks exactly how you envisioned.
Disclaimer: This article provides general guidance. Always verify product specifications for measurements, mounting compatibility, and finish care instructions. Installation may vary by cabinet type and door construction, and results depend on accurate measurements and safe mounting practices.